
How to make a website – easy steps

Well, there are lots of domain and hosting companies. You can choose any company to buy the domain.
Here I am giving a list from where you can buy a domain names.
Earlier, credit cards were required to buy domain names and hosting, but now you can also buy from your ATM or debit card.
Some good domain companies:


Now if I want to know my wish then I use Bluehost and BigRock. Their customer service is also very good. You can read how to buy a domain from here.
In this post, I will tell you the process of buying domains from Bluehost. Here you will find the domain for just under ₹ 400 – ₹ 500.
First of all, check the availability of the domain of your choice. For this, go to its homepage and enter your domain name, and search.
If your chosen domain name will be available, then you will get its message here as you can see in this screenshot (example.com is available).
Now here you have to click on Add To Cart.
When you move forward with the domain, we get many associated with it.
Here you will find the option of No Thanks below, click it and remove the extra services.
Now here you have to create a new account before taking the domain.
You enter the username of your choice in it.
After that people set passwords for these.
Now enter your email address and click on Create account.
After this step, you should select the validity of your domain according to your needs. It is important here that the registration of the domain takes less money in the first year.
Renewals cost more than the second year. You can also get a good offer from Bluehost for the first year, but this type of offer is offered only on certain occasions.
This is your last step in which the payment method has to be selected and the bill to buy your domain name has to be paid. In this way your domain has been registered, all you have to do is point to your server.
Hosting Purchase Process:
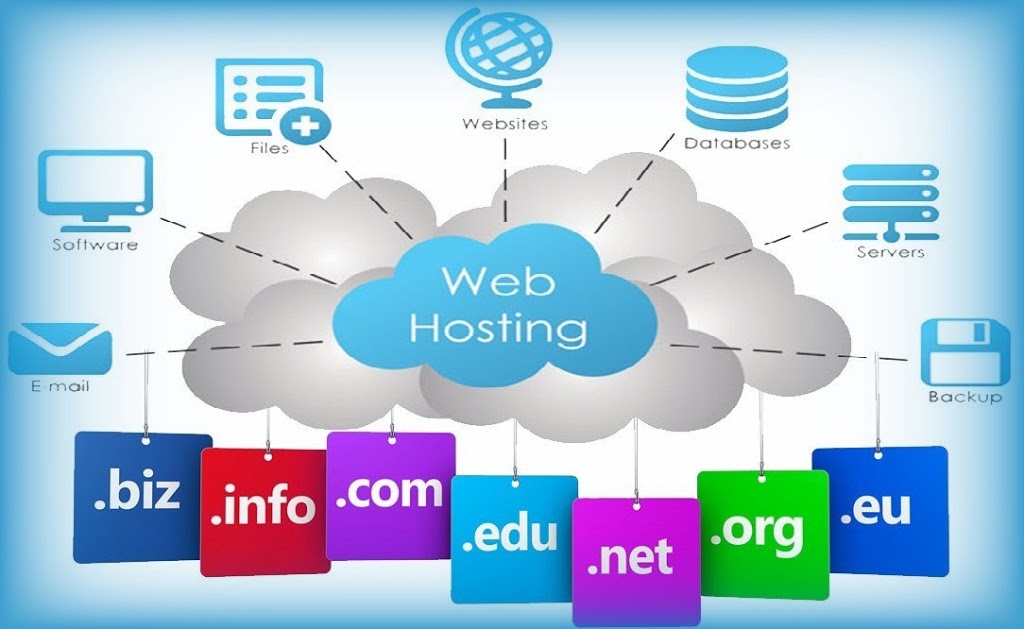
Friends, we write articles on whatever website we create, upload images. All these speak hosting where it is secure on the internet.
Hosting is necessary to keep it live online forever. We have already given information about what is web hosting. With this, I have written a separate article about how we can buy hosting from HostGator.
As you buy hosting, you will get a message in an email. In which there will be all kinds of details so that you can easily manage and handle your website. You also need to know these important things for domain and hosting connectivity.
You also need to know these important things for domain and hosting connectivity.
Name servers
Cpanel link
You will get both of these in your email.
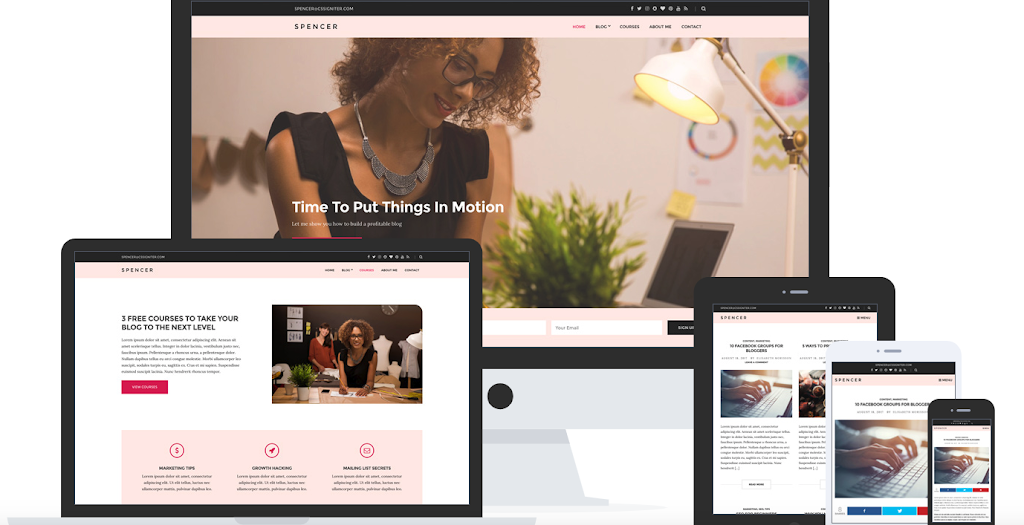
3. Website Design
Now you have both important things needed to build a website. So you must have got all the details in the email to go to the Cpanel of your hosting provider.

1. log in to your domain account.
2. You will see the management there and click on it.
3. After that you select Custom DNS.
4. Copy and paste the nameserver found in your email over there.
5. Finally, your domain is pointing to the Nameserver.
Now you can start the WordPress installation.
For this, now you open your Gmail account and you have received the email message Hostgator or other hosting services.
1. In it, click the link that you got from Cpanel.
2. This will open your Cpanel login page.
3. Here enter the username and password you received in the email.
4. After this, click on the login button.
5. Now your Cpanel Dashboard will open.
6. Here you have to scroll a little and come down. Here below you will find Softaculous Apps Installer.
7. Inside it you will see the WordPress logo.
In this, you have to click.
8. Now click on Install Now.
The WordPress installation dashboard will look something like this.
Here you will see the install button on the right side.
Which we use to install WordPress.
We have to fill in some details before the WordPress installation.
We will get these settings when we click on the install button.
So now you click on install.
4. WordPress installation
3. Enter the title name of your website in Sitename. After this, add the description linked to your website.
4. Now enter the username and password to login into your Admin account.
5. Enter the email ID in the area below it.
6. Although the language will be your default in English, but if you want, you can select the language of your choice.
7. Now just coming down, you will see the install button and click on it.
8. The installation of WordPress will begin.
9. This will take a few seconds, just then your WordPress will start and your site will also go live in a while.
10. Here you can see that you have got 2 links.
11. The first is a link to your website’s homepage.
12. The second is a login link to your WordPress dashboard.
13. Now open the dashboard by clicking on the link with the second number.
14. Enter your WordPress username and password here and log in.
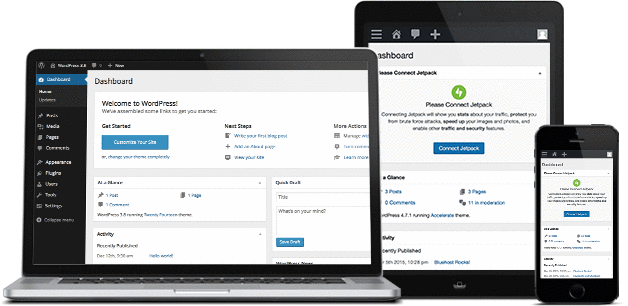
Your WordPress dashboard will open as soon as you click on login.
Its interface will look something like this.
5. Install the plugin
First of all, open the dashboard of your website and click on the plugin there.
You will see Installed Plugin, Add New, and Theme Editor here.
You will also see the Add New option in the box. Click on it.
When you click on it, you will get to see the plugin gallery, as you see in the screenshot above.
From here you can use the plugin as per your requirement.
I am giving you a list of the necessary plugins here that you can search and install.

